With the popularity of smartphones and the increasing power of computer functions, projecting phone screens onto computer screens has become a demand for many people. This not only allows us to watch videos and play games on a larger screen, but also facilitates demonstrations and office work. This article will introduce several simple and practical methods for projecting screens on mobile phones to help you easily achieve this goal.
Using USB connection
USB connection is a common data transfer method and can also be used to achieve screen mirroring from a mobile phone to a computer. This method requires the use of a mobile phone’s data cable to connect the phone to the computer. Here are some steps:
1.Ensure that both your phone and computer support USB connectivity. Most modern smartphones and computers support USB connectivity, but if you are using an older version of the device, you may need to check the user manual or search for relevant information online.
2.Find the USB ports on your phone and computer. The USB ports on mobile phones and computers may be located in different locations, please refer to your device manual for specific locations.
3.Connect your phone and computer using a USB cable. Ensure that both ends of the data cable are correctly plugged into the USB ports of your phone and computer.
4.Open File Manager or Resource Manager on your computer, locate the connected mobile device, and open the corresponding folder. At this point, you should be able to see the files and folders on your phone on your computer.
5.Find the program or file you want to project, copy or drag it to the desktop or folder on your computer.
Advantages: Stable connection and simple operation. Disadvantage
Using the built-in screen projection protocol on the phone
If you don’t want to use a data cable to connect your phone and computer, you can consider using the built-in screen mirroring protocol on your phone. This method does not require the use of a data cable, it only requires the phone to open the built-in screen projection protocol. The following are the steps to use the built-in screen projection protocol of a mobile phone to achieve screen projection to a computer:
1.Ensure that the phone and computer are connected to the same network;
2.Pull down the mobile menu bar, find and click on “Mobile Screen Projection” or “Screen Projection”;
3.Find the name of the computer you want to project the screen on, and click on connect to complete it.
Advantages: No need for data cables, easy to operate. Disadvantage: High requirements for network status.
Using third-party software
In addition to the above two methods, third-party software can also be used to project the screen from the phone to the computer. These software usually need to be installed on both mobile phones and computers, and connected and set up according to the corresponding steps. The following are the steps to use third-party software to project a phone screen to a computer:
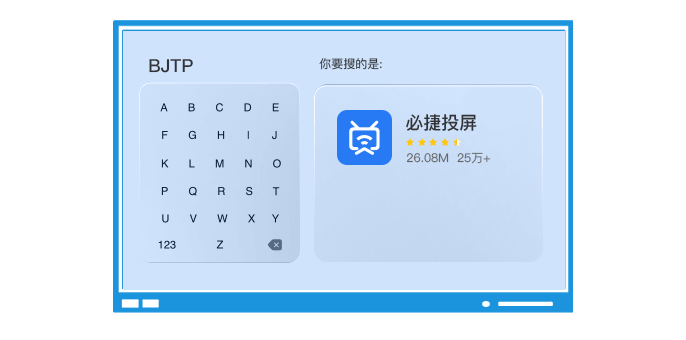
- Choose a reliable third-party software. When choosing software, it is recommended to choose well-known brands and widely used software, such as Bijie Projection, to ensure its stability and compatibility.
- Install Bijie screen projection software on both mobile phones and computers. It needs to be downloaded and installed on the app store or Bijie official website.
- Open the software on your phone, select the computer device you want to project the screen to, and follow the prompts to connect. Ensure that your phone and computer are connected to the same Wi Fi network.
- Open the content or application you want to project on your phone, such as videos, games, presentations, etc. At this point, you should be able to see the content on your phone on your computer.
Advantages: Provides more custom options and control; Can use different devices across platforms for screen projection connection; More flexible and convenient for users with special needs; Simultaneously supporting multiple protocols and standards (such as DLNA, Miracast, etc.), it can be compatible with more devices and systems. Disadvantage: Additional software installation is required; For novice users, it may require more learning costs; Attention should be paid to software updates and maintenance to ensure optimal user experience and security.