Image Projection – vivo Image Projection Setting Method
Nowadays, many people engage in online learning at home, but some students can only watch their courses on their phones and feel that it doesn’t look particularly enjoyable on their phones. Why not try the “smart screen projection” of vivo phones, which can easily project their phones onto a TV or computer? So how do you operate it? Let’s learn about it~
Projection to TV
Before projecting the screen to the TV, you need to confirm the following operations:
1. TV function confirmation
Please refer to the TV manual to ensure that the TV supports connecting to WiFi and supports screen mirroring (Miracast) function.
2. Turn on the WiFi switch on the TV and connect it
In the TV’s “Network Connection Settings” menu, turn on the WLAN switch or switch to a WLAN connection (which may also display as “Wireless Network”). Connect your phone and TV to the same WiFi.
3. Router AP Isolation Off
Please keep the router AP isolated and closed, otherwise it may cause screen projection failure. Please contact the network supplier or router manufacturer for the shutdown method.
4. Turn on the “screen mirroring” switch on the TV
In the system settings menu of the TV, turn on the “Screen Mirroring” switch. (It may also be a screen projection or Miracast, etc.).
Then we open the ‘Mutual Transfer’ software on the vivo phone. If you can’t find it, you can slide it from bottom to top on the desktop to call up a global search.

Then click on ‘Smart Screen Projection’ in the bottom right corner, select ‘Screen Projection to TV’, and then click on ‘Screen Mirroring’.

Then open ‘Screen Mirroring’, click ‘Search for Mirrorable Devices’, and then click on the device to achieve screen projection.

Projection screen to computer
Firstly, we need to search for Vivo Interchange on the computer browser Baidu, then enter the official website of Vivo Interchange (which looks like this below, don’t mistake it), and then click on the “Download Center” in the upper right corner.

Then find the “Mutual Transfer (PC)” in the bottom right corner and download the Windows version of the mutual transfer software (Mac version does not support screen projection).

After downloading and installing, open this software, and then click on the “Project Screen to Computer” button on the left. The software will generate a QR code. At this time, you need to connect your phone and computer to the same route, in short, to the same network. The simplest way is to connect your phone and computer to the same WiFi network.

Then open the mobile intercom app, click on the scan icon in the upper right corner, scan the QR code generated by the computer just now, and wait for a moment to successfully cast the screen.


After successful screen casting, if you want to end the screen casting, click “Disconnect” on the vivo mutual transmission screen casting interface.

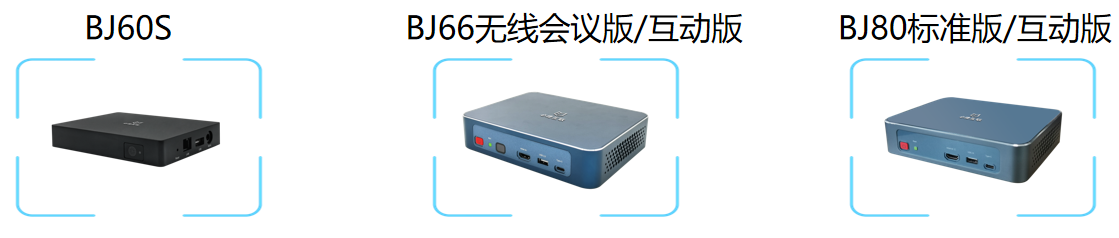
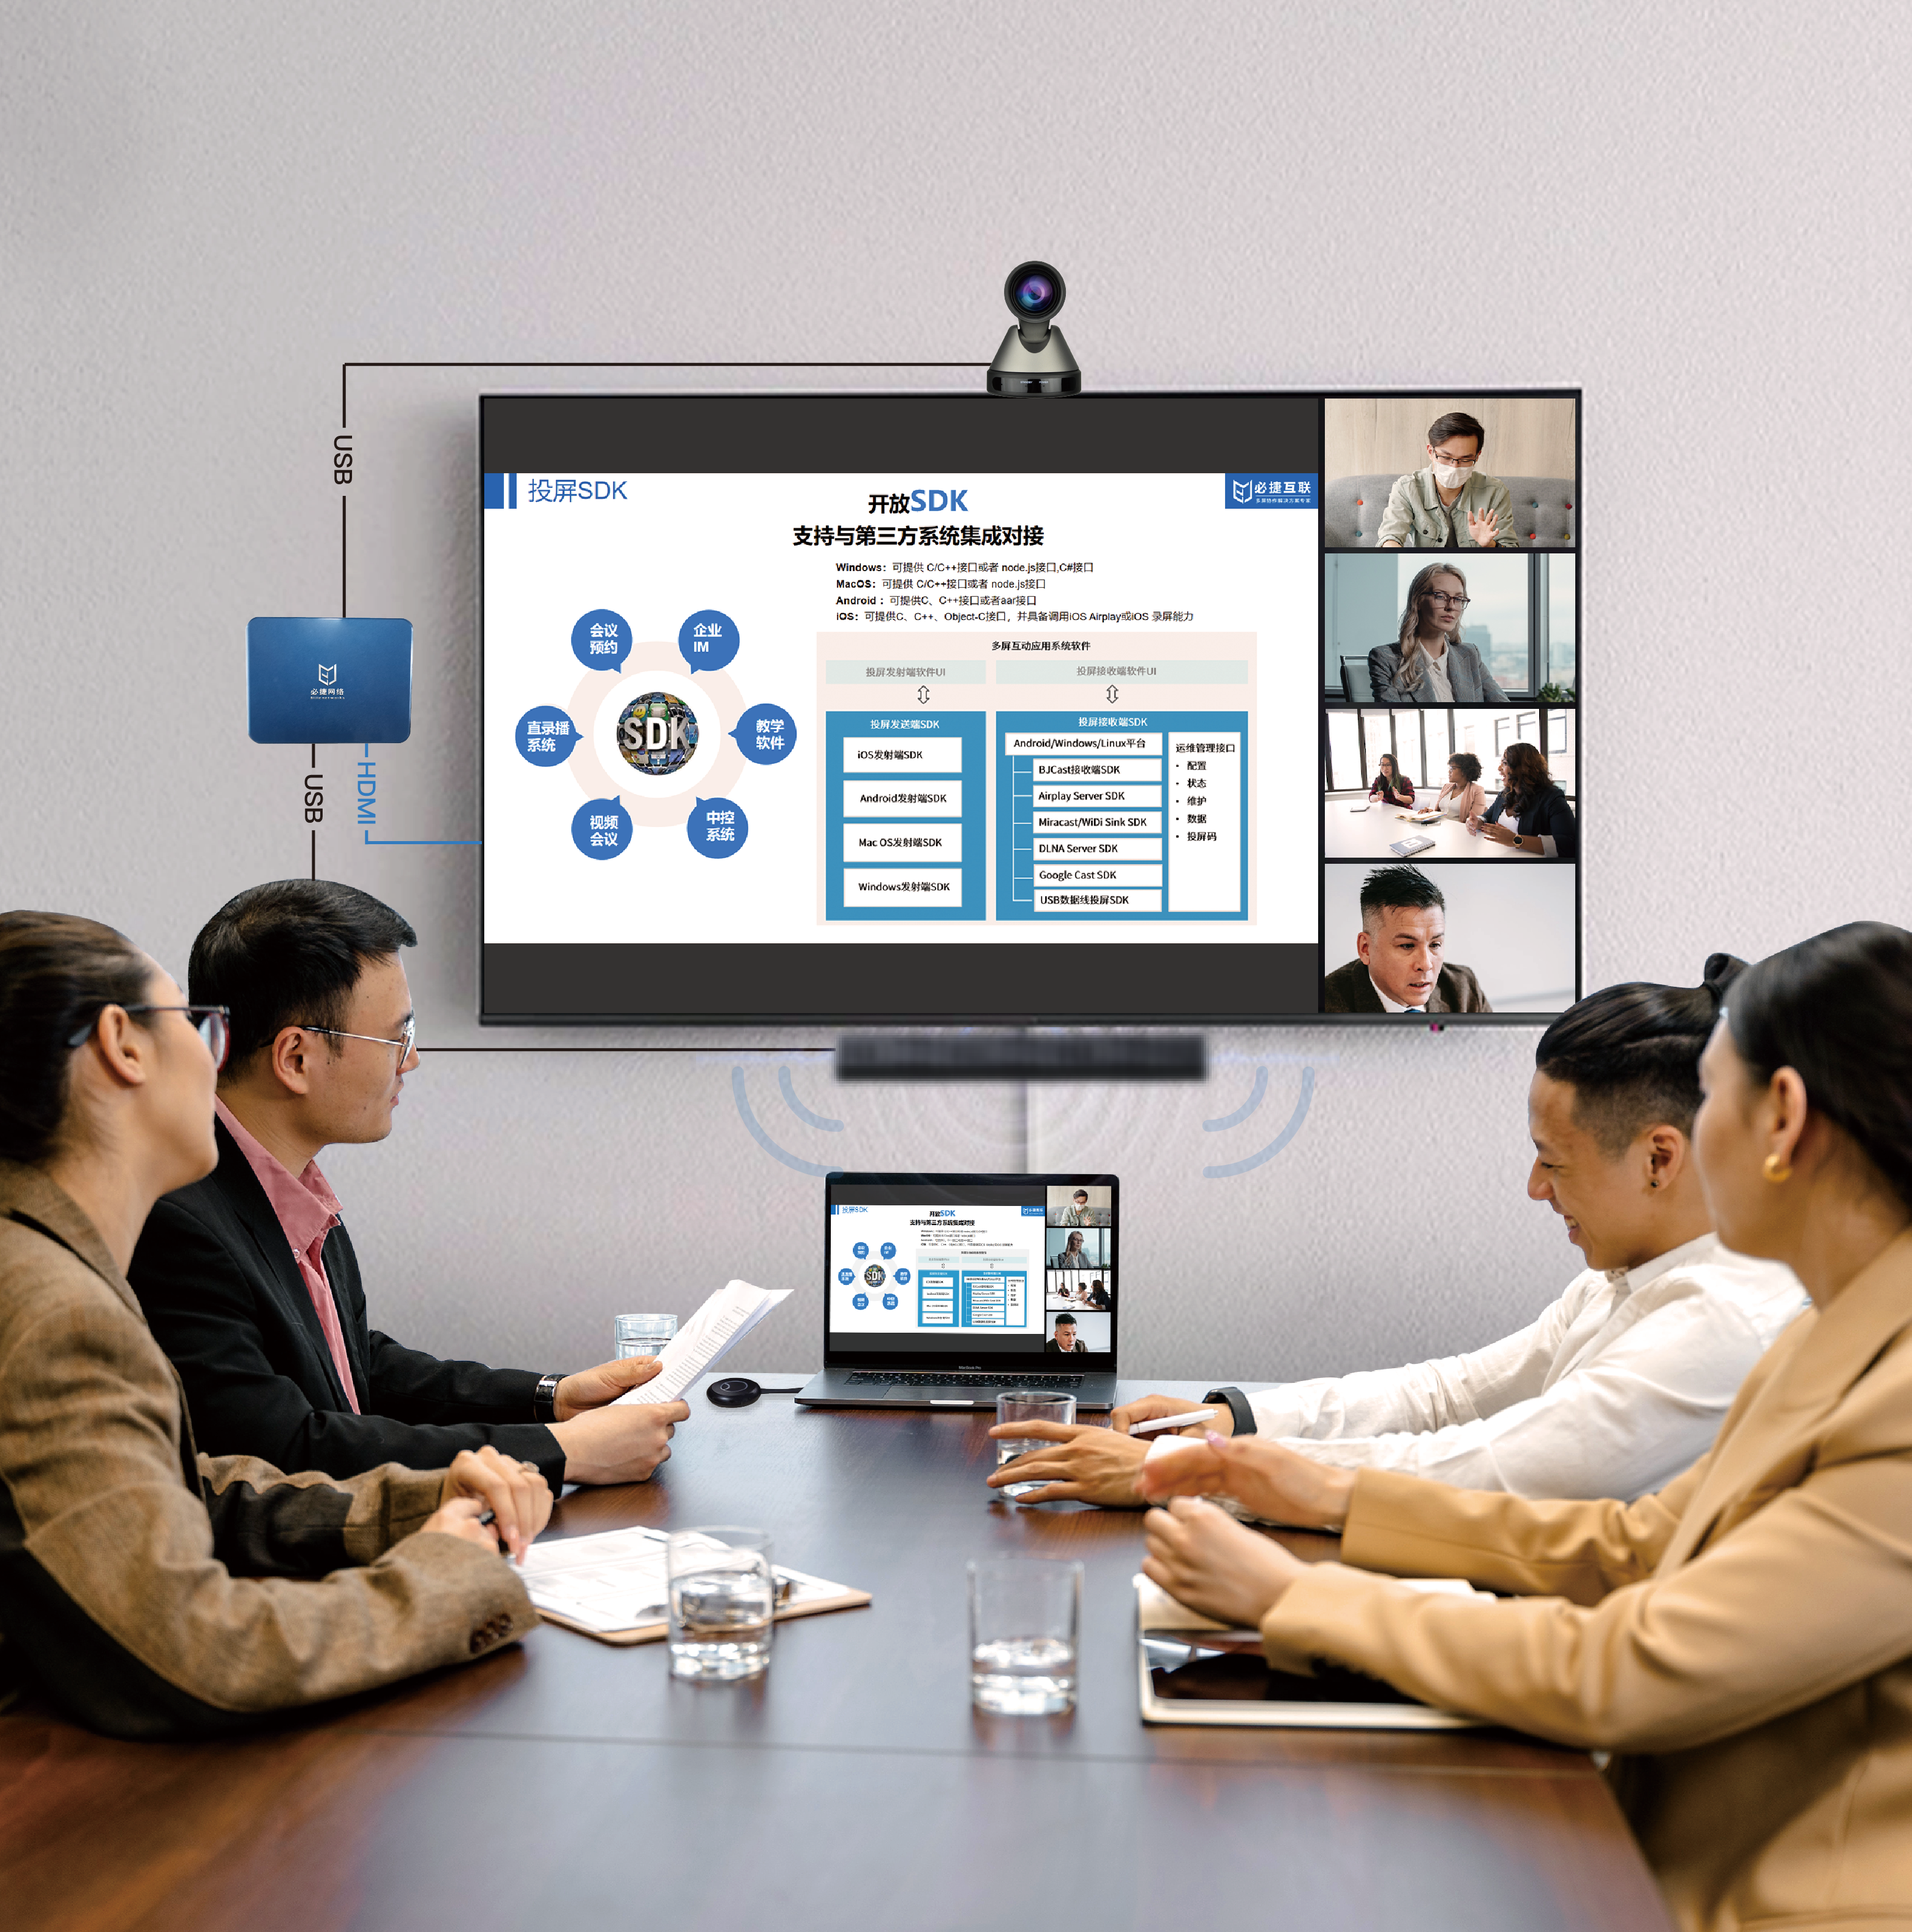
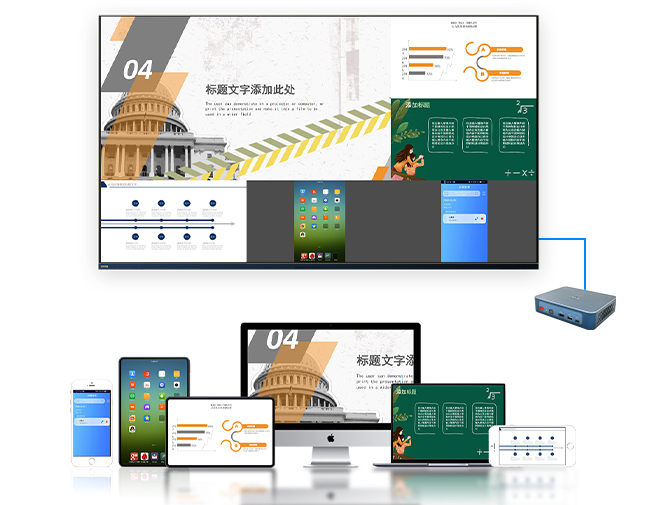
If you are a teacher or need to perform multimedia transformation in the classroom, it is recommended to use the Bijie Wireless Screen Projector. Bijie Internet has proposed various smart classroom solutions for vocational colleges, providing better services and more functions.