Screen Projection – Windows Computer WiDi Screen Projection Steps
The steps to achieve WiDi screen projection on a Windows computer are as follows:
1.Enter the menu and click the “Settings” button
2.In the pop-up settings window, select System
3.Click and select “Project to this computer” in the list
4.Set the projection on the right side of the window
5.”Settings” page, while ensuring that the phone and computer are on the same WiFi
6.In the opened settings page, click on the “More Connections” menu item
7.Click on the “Wireless Screen Projection” option in the connection method
8.Turn on the “Wireless Display” option, and then you can see the computer name “dot” on your phone. Click on the computer name
9.At this point, a “Connect” prompt window will pop up in the bottom right corner of the computer, click OK
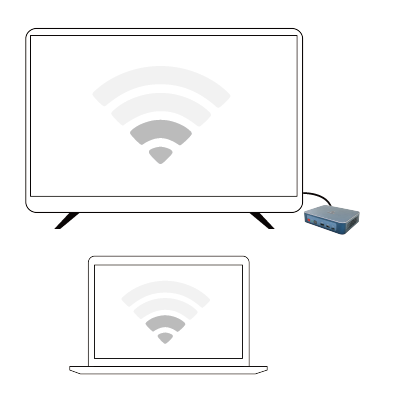
10. On the computer side, there will be a “about to project” effect, and after a while, the content on the phone screen will appear on the computer screen
The above steps are for your reference, and specific operations may need to be adjusted according to different devices and system versions.