HOW TO PROJECT ANY PC SCREEN USING MIRACAST WITH WINDOWS 10?
In case the user wants to connect one miracast enabled PC with another Windows computer that also supports miracast can be done easily. This is possible from Windows 10 versions onwards for Windows computer. Follow the steps to connect to PC using Miracast;
1.Search for ‘Projecting‘ in Windows 10’s Search box.
2.Now simply click on the Projecting option located under the Windows settings tab.
3.Change the setting which says Always off to Available everywhere.
4.Now, go to your other device and, if it’s a Windows PC, press Win+K to search for the PC you just enabled wireless projection on.
5.This will connect the two windows 10 pc with one another using wireless connectivity.

HOW TO FIX “PC OR MOBILE DEVICE DOESN’T SUPPORT MIRACAST” ERROR?
Many times when you try to mirror or beam your screen with another device, you may receive an error stating “Your PC or mobile device doesn’t support Miracast, so it can’t project wirelessly”. There can be many reasons for the error to appear. Usually, the main reasons for the error are;
1.Any of the devices you are trying to connect do not support Miracast.
2.Graphical Processing Unit is disabled.
3.Wireless adaptor is set to resolution oh 5-6GHz.
4.Any third party software interfering with Miracast Screen Mirroring.
5.Wi-Fi is turned off when connecting through Intel Graphics Chipset.
6.Below are the complete fixes for Windows 10 Miracast Not Working;
FIX 1: CHECK DEVICE FOR COMPATIBILITY WITH MIRACAST
It is the first check that shall be conducted before connecting any device wirelessly using miracast. Make sure that the device you are trying to connect is supported by Windows 10 Miracast or not. Since it Runs using the graphics driver support or network adapter, make sure that they are functional and support wireless connection. Follow the steps below to check compatibility;
For Graphics Driver Support:
1. Press Windows key + R, to start a RUN dialog,
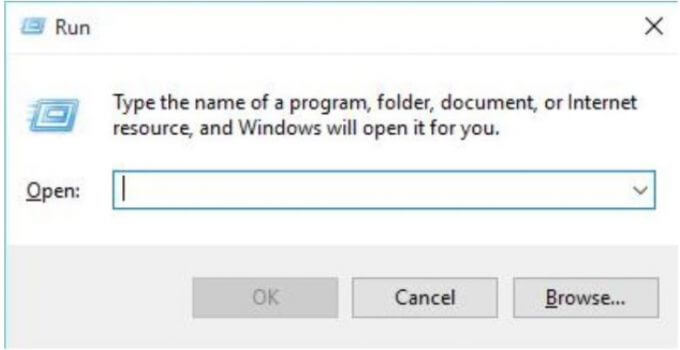
2.Now type ‘dxdiag’ and hit Enter.
3.It will open the DirectX Window.
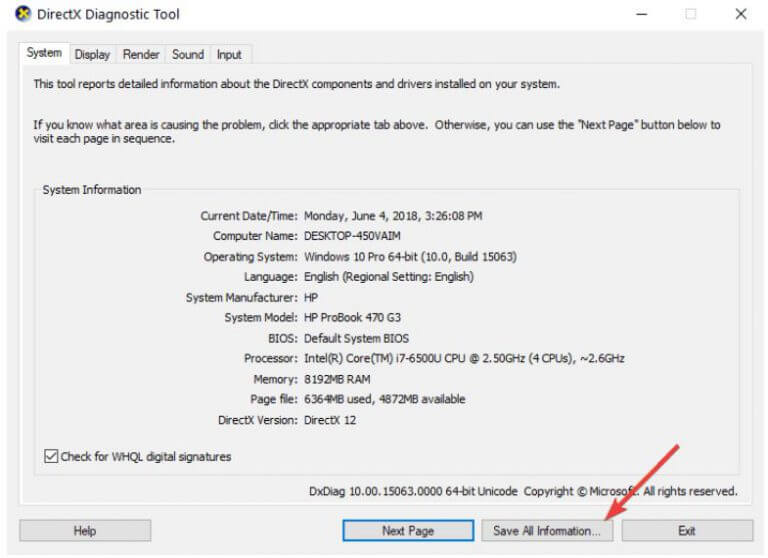
4.Click on the option saying ‘Save All Information’, and save the file as .txt extension, and close all the windows.
5.Now go to documents find the file named DxDiag.txt and open it.
6.Read the file and search for the MIracast option. If it says that status of the device as “Available, with HDCP.” Then Miracast is able to Run on PC. Now check the driver model option, if it says WDDM 1.3 or above available, it means your system doesn’t support Miracast.