Would you like to play your favorite game on a larger screen? Or perhaps you have many friends over and there’s a slide show on your mobile device or computer you’d like everyone to get a good view of.
What if I told you there’s a solution on Windows 10 devices (including laptops, smartphones, and tablets) that will enable you to project your device screen to displays like a projector, streaming media player, TV screen, or desktop VDUs without using HDMI cables? You can do this using Miracast.

What is Miracast?
Miracast is a wireless technology that makes it possible for users to mirror one device’s display to another device. It could be described as a wireless HDMI cable. It, however, functions exclusively as a screen-mirroring protocol. For instance, let’s say you want to use Miracast to stream a video from your PC to your TV. Your PC screen has to be on the whole time. Miracast doesn’t have the “smart” component.
To use Miracast, you’ll need a Wi-Fi USB dongle or your device has to have built-in Wi-Fi capabilities.
How to resolve the “Your PC or mobile device doesn’t support Miracast” error
It may happen that when you try to mirror your device, you get an error message that says, “Your PC or mobile device doesn’t support Miracast, so it can’t project wirelessly”.
According to user reports, this error can occur due to a variety of reasons:
- One of the devices involved does not support Miracast
- Intel Graphics Hardware is disabled
- The wireless adapter is forced to 5GHz
- There’s some third-party software with an integrated VPN feature (such as Cisco AnyConnect) that’s interfering with the Miracast connection.
- Wi-Fi is turned off when connecting through Intel Graphics Chipset.
If you encounter this error and don’t know how to fix it, don’t fret. We will show you what to do if Miracast couldn’t connect on Windows 10.
Here’s a list of verified fixes that many users have used to get the issue resolved:
- Check if your device is Miracast-compatible
- See that Wi-Fi is enabled on both devices
- Check if Wireless Mode Selection is set to Auto
- Enable Intel Integrated Graphics
- Reinstall the Wireless Network Adapter driver
- Disable third-party VPN solutions
Solution 1: Check if your device is Miracast-compatible
The first thing you have to do before using Miracast is check if your device supports it.
A Miracast connection is powered by two components, namely your graphics card and network adapter. Check if your network adapter and graphics drivers can support the connection.
Follow these steps to do so:
- To test the graphics drivers, open the Run dialog by pressing the Windows logo key + R on your keyboard.
- Type dxdiag in the text box and click OK or press enter on your keyboard.
- On the DirectX window, click on the button that says “Save all information”.
- Select a folder to save the text file. Click OK.
- Press the Windows logo key + Q.
- Search for Notepad in Cortana.
- In Notepad, click on File > Open.
- Open DxDiag.txt
- In the DxDiag document, you’ll see your system information. Miracast should say “Available, with HDCP.” If not, the connection won’t work on your device.
Alternatively, on the DirectX Diagnostic Tool window, click on the Display Tab and check your driver model. You’ll find it at the bottom of the Drivers column. If Driver Model does not say WDDM 1.3 or above, it means your system doesn’t support Miracast.
After you’ve seen that your graphics drivers can support Miracast, the next thing to do is check the compatibility of your network adapter. Here’s how:
- Type PowerShell in Cortana.
- Right-click PowerShell and select Run as administrator.
- In the window, copy and paste the command:
Get-netadapter|select Name, ndisversion
- Press enter.
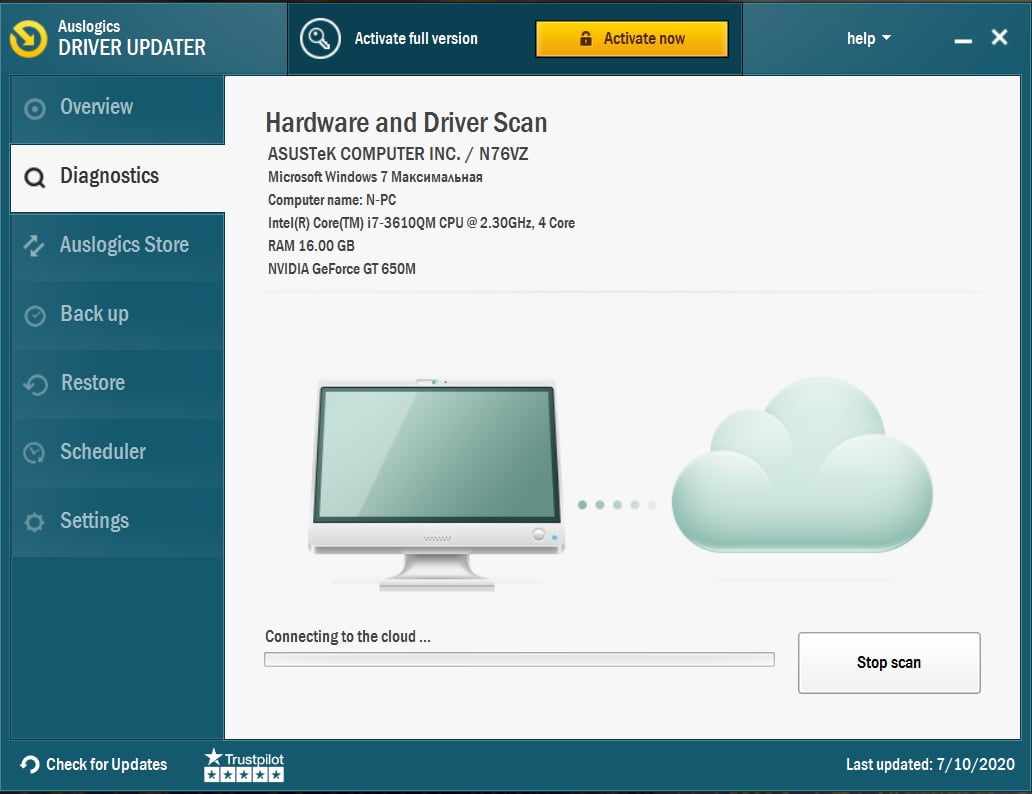
- The NdisVersion should be above 6.30 for your PC to support Miracast. If it is under, you should try updating your Wireless Network Adapter. To do so, open the Run dialog (Windows key + R) and type devmgmt.msc. Locate your network adapter, right-click on it and select Update driver. You can use Auslogics Driver Updater to ensure that your drivers are always up to date.
You will need a wireless display adapter if your PC does not support Miracast. You should opt for Microsoft’s Wireless Display Adapter. It is a good choice for Windows devices.
Solution 2: See that Wi-Fi is enabled on both devices
If you have confirmed that your devices actually support Miracast but you still get the error message, check if both devices have Wi-Fi enabled.
To check if Wi-Fi is enabled on Windows 10, follow this procedure:
- Press the Windows logo key + R to open the Run dialog.
- Type ms-settings:network-wifi in the text box. Press enter or click OK.
- You’ll be led to the Wi-Fi tab of the Network and Internet Settings menu. Click on the toggle to activate Wi-Fi if it is deactivated.
- Also check if Wi-Fi is activated on the other device. How to do so depends on the device in question. On Android and iOS platforms, you can enable Wi-Fi through the Settings app.
Solution 3: Check if Wireless Mode Selection is set to Auto
Some users got the “Your PC or mobile device doesn’t support Miracast, so it can’t project wirelessly” error because their wireless adapter was on 5GHz or 802.11blg instead of Auto. To set it to Auto, follow these steps:
- Right-click on the Windows 10 Start button. Select Device Manager.
- Go to the Network Adapters drop-down and expand it.
- Right-click on your wireless network adapter and select Properties.
- Click on the Advanced Tab.
- Under the Property list, select Wireless Mode Selection.
- Click on the Value drop-down menu and select Auto.
- Click the OK button.
- Restart your computer.
Solution 4: Enable Intel Integrated Graphics
Go to your BIOS settings and enable Intel integrated graphics. The steps for this depend on your motherboard. Know your device model and search online to find out the required steps.
Solution 5: Reinstall the Wireless Network Adapter driver
This solution has proved effective for many users. Follow these easy steps to reinstall the Wireless Network Adapter driver:
- Open the Run dialog by pressing the Windows logo key + R on your keyboard.
- Type devmgmt.msc in the text box and click OK to open Device Manager.
- Expand Network Adapters.
- Right-click on your wireless network adapter and select Uninstall device from the menu.
- In the Uninstall Device window, click the Uninstall button.
- Restart your computer. Windows will reinstall the driver automatically.
Solution 6: Disable third-party VPN solutions
If you have third-party VPN software on your PC, such as Cisco AnyConnect, Wi-Fi Direct (the basic technology behind Miracast) will be enabled as Split Tunnel security vulnerability. This compels your system to disable the functionality.
To fix it, disable any such third-party software and restart your PC.
We hope you’ve found this content useful…
Do leave a comment in the section below.
In general, you should regularly check if a PC is protected against online threats. We are sure using Auslogics BoostSpeed 11 will help you to forget about malware risks, and to fix any issues related to the cybersecurity extremely promptly.